How I made my "starstruck" animation!
Hello and welcome to this txt file ^_^
In this tutorial I wanted to give a look into the process of creating my "starstruck" kotomoko animation and all the different facets of it!
This animation used a miriad of skills including, frame by frame and tweened animation, designing the assets, and video editing. Stuff like cutting the audio was also involved but i wouldn't really call it a skill or anything.
the animation in question
A few things I want to say before we get into my process are resources and programs I used!
The programs I used were clip studio paint EX and davinci resolve and the only graphic I didn't make in my assets was from ... !
All tweened animations I've done are thanks to Nomad R Productions on Youtube. PLEASE watch his tutorials if you want to rig/tween anything in davinci resolve they taught me so much.
The specific tutorials I watched were:

I also want to clarify I'm not an expert on all of these things and some information may be wrong but this is more a tutorial for people who want to achieve something similar rather than teach you the fundamentals of animation, drawing, or editing. This is an analysis of my own animation process and what works for me!
Now that we got through that we can actually get into my animation specifically.
Part 1: The storyboard
the storyboard
1.1 Setting up the canvas
After I've heard a song or watched a funny video and downloaded it, I open up clip studio to get to animating!
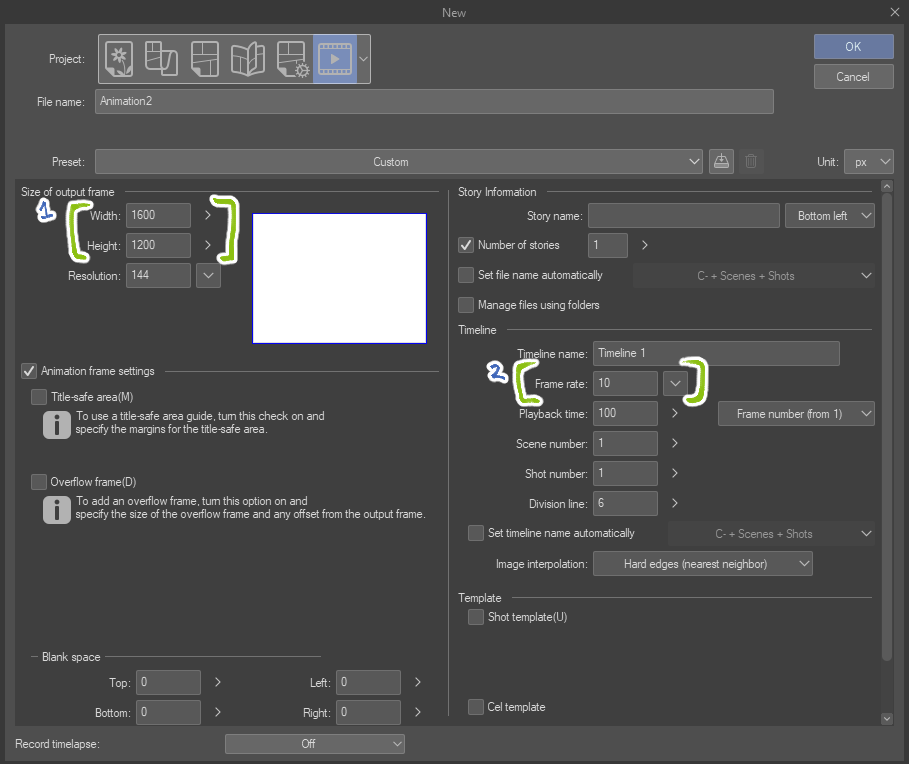
I always like to animate with my canvas at a 4:3 aspect ratio (either 800px by 600px or 1600px by 1200px)¹ and don't really use any of the frame settings or whatever that clip studio provides. For framerate I tend to do 10-12 fps², although sometimes I go insane and use 24fps (animated on 2s).
An example of a 10fps animation I've made is my CREEP YOU OUT animation and an example of a 12 fps animation I've done would be my Don't Speak German animation. I think the framerate you want will really boil down to personal preference, if you want something more focused on still shots with minimal motion (like an animatic) a lower framerate works well but a lot of "smooth" animations can still be done at lower framerates too (see cuptoast as a great example of this).
my setup
1.2 Making the storyboard
I usually have a pretty good idea of what I want to do for my animations and will start by laying out any keyframes then go back to add any inbetweens I want. I like to have all of the animation boarded before I go into lineart or colouring because it makes the parts feel more manageable to me. Most of my animation memes will only have 4 frames worth of frame by frame animation per shot, then tween the rest / have still shots. I will only use about 2 animation folders for the storyboard usually (main animation and additional moving parts).
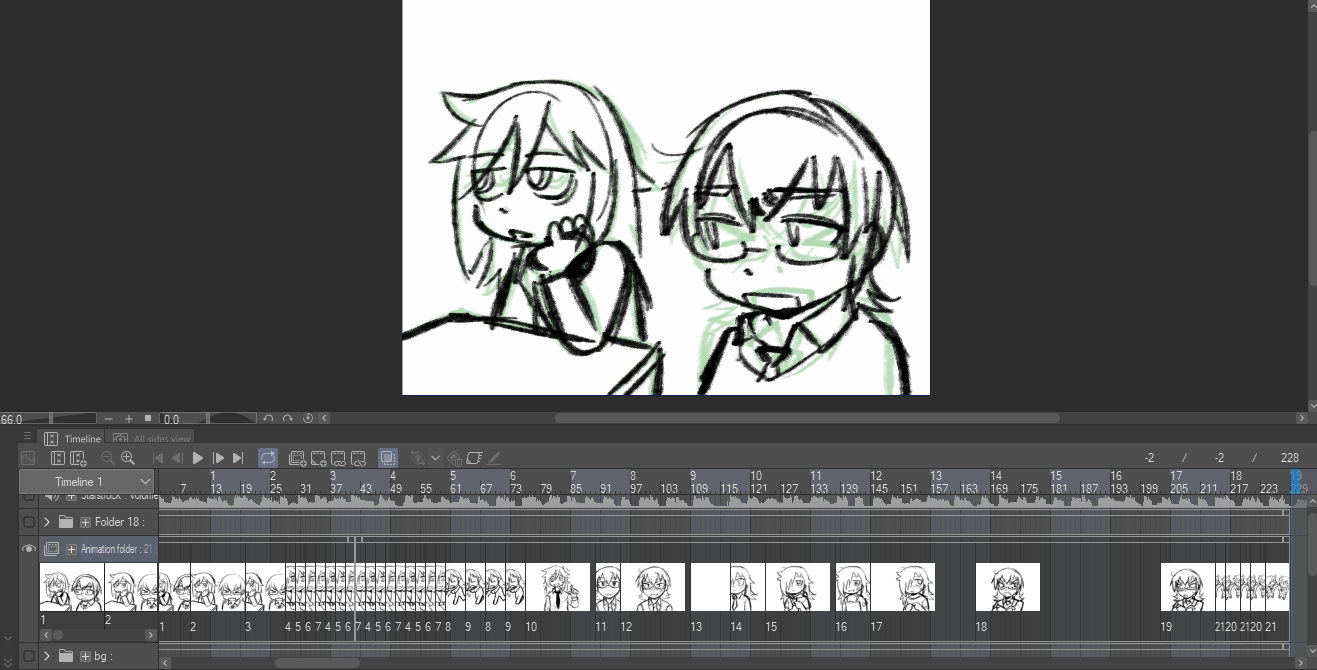
the startstruck storyboard
Part 2: The frame by frame animation
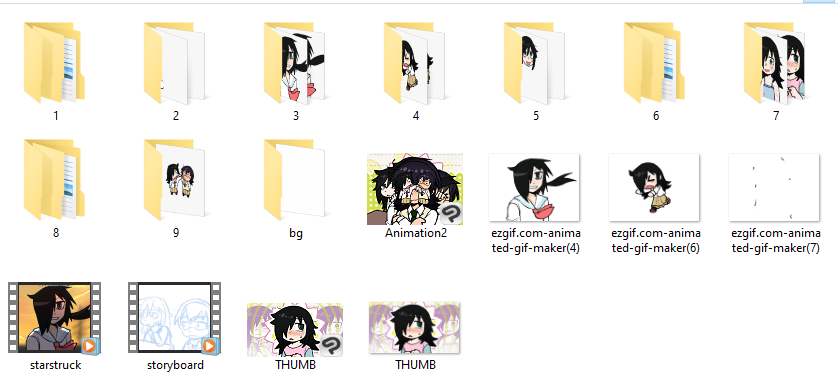
After storyboarding I'll do the lineart for all elements including the rigs and frame by frame. The rigs will just have all the parts in a single folder, while the frame by frame animation will be in seperate folders inside an animation folder like this
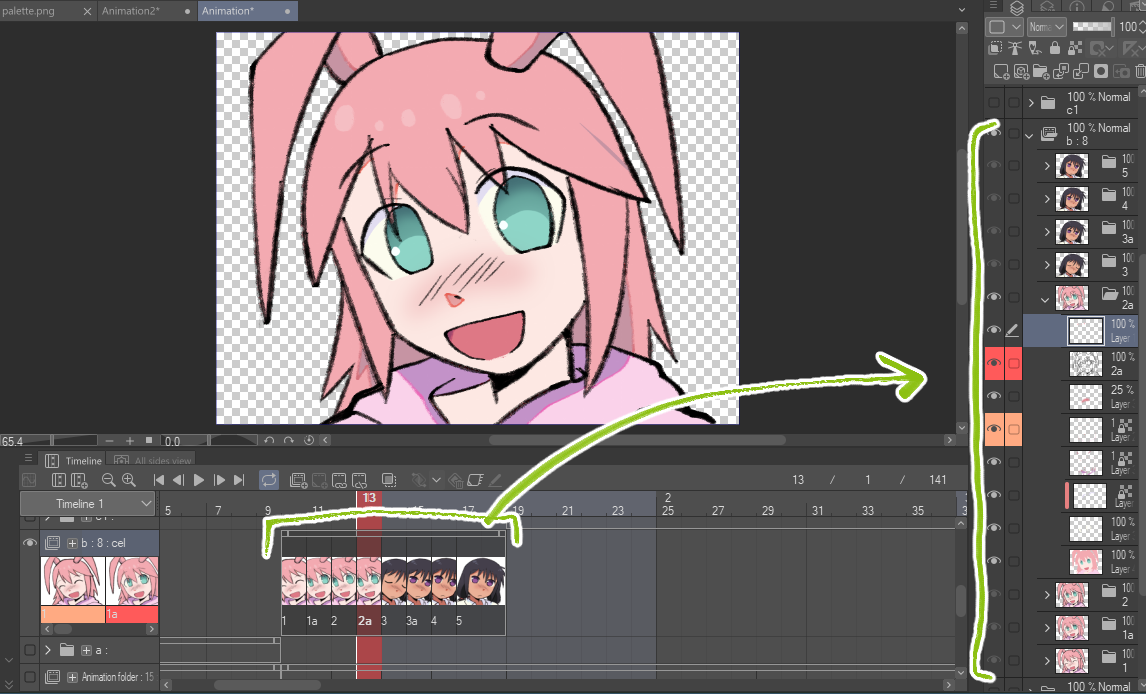
I start with lineart, then the outlines for the shading and highlights, and then fill in all the colours (often on seperate layers to make things like adding gradients easier although you can also do that through masks during editing/compositing)
Part 3: Drawing the rigs
The rigs can be a little complicated to figure out and it took me a couple attempts to figure out what works best for me. I like to have a minimum of 3 or 4 parts for every rig and expand from there for more minute movements like the bangs or eyebrows. You really don't need a ton of parts to make a fluid animation if you know how to edit them well enough (cough cough mesh transformation). My rule of thumb is that if the shot is longer / a closeup I tend to put more moving parts to make the motion more "realistic". My kotomi and tomoko rigs were 5-10 pieces each.
Part 4: Designing the assets
Great! now we have all the parts for the characters, but what about the background?
I actually have a little cheat I've been doing for every animation I've making lately... It's picking 1 image / palette to base all the background assets off of! Simple enough right? I get most of these images I use from Kawaii Scans, they have a wonderful variety of cute high res memopad scans to use!
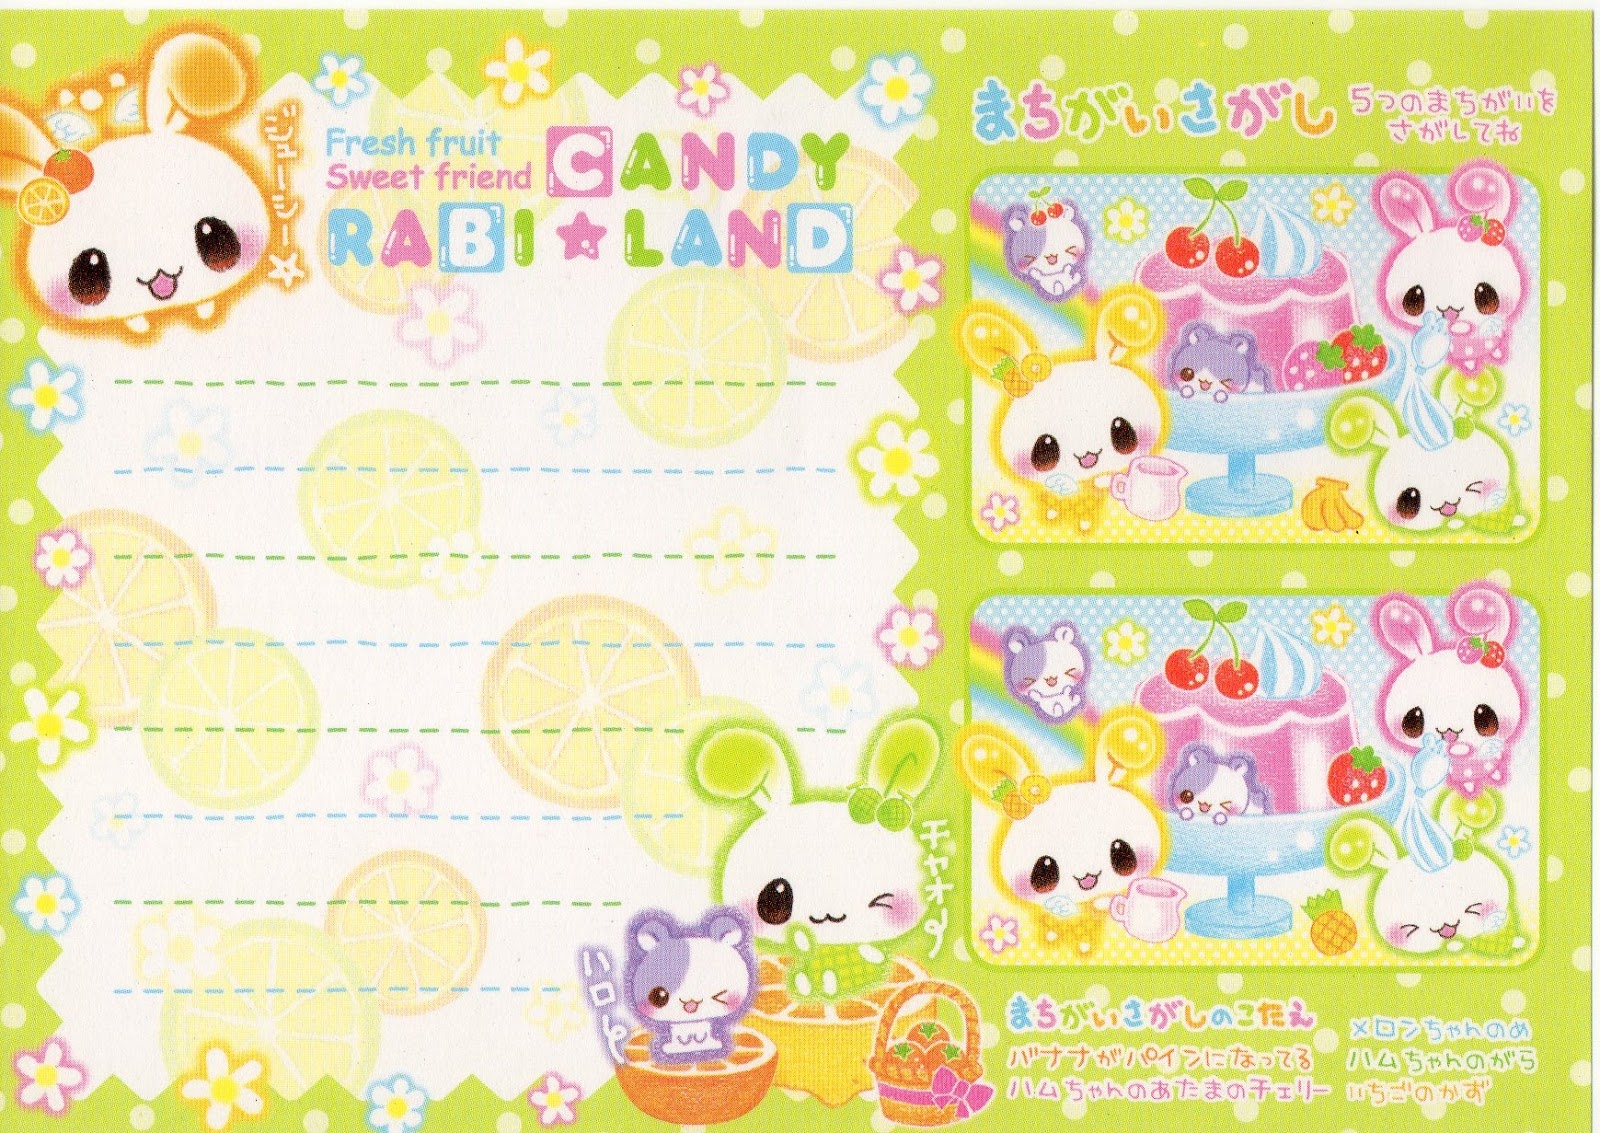
I used this memopad design and built all the assets off of it.
For what to do outside of that I usually go with large colourblocked elements with textures on top so that they aren't too distracting from the actualy character animation.
My only exception from this was the "fugitive" part of the animation since it was referencing a specific scene from the OVA. For this I used a background I drew for an animation collab a while back (work smarter not harder).
Part 5: Editing the video
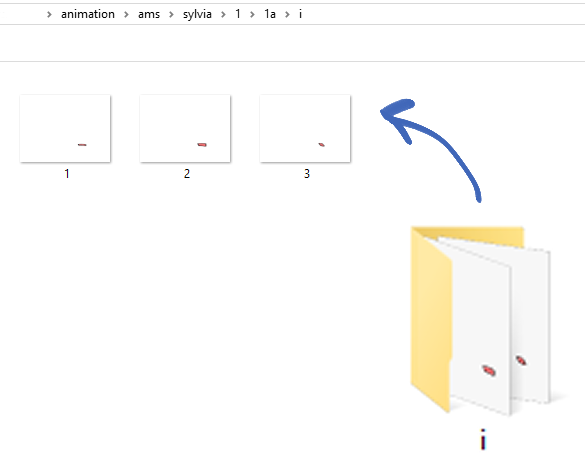
Once all the parts are completed, I export all the frames and layers as pngs. You can do this in 2 ways, put all the asset pieces on a timeline and export it as an image sequence at 12fps or so, or just turn on and off visibility for every part you use. I tend to do the second one although it can feel more tedious, saving every rig to its own folder. Any looping frame by frame parts can also be exported as gifs or as pngs I'll compile together in something like ezgif. All parts are numbered and then put into alphabetical folders. The most amount of folders I've had is a-q for my Joyfulthought animation.
I put all multi-layer parts like lip sync and eyes into their own folders with their own numbered sequence to make it easy to bring them in to animate later
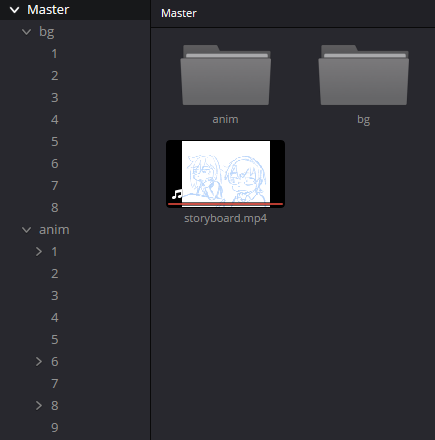
In Davinci I replicate all the folders I use and also drag in the exported storyboard video as a base to line all the parts up
5.1 Animating the background
Although the background for this animation had quite a few moving parts per shot, I made sure to keep the actual animation of every part quite limited. I only really did zooms, rotations or had the parts sliding across the screen relatively slowly. The element I like the most is the elements popping in, I did this with a simple zoom transform going from small, to oversized and then back to normal in a total of like 6-8 frames lol
5.2 Setting up and Animating the rigs
I'm going to plug Nomad R Productions Rigged animation tutorial here again because it basically lays out everything I do. The basics is that you're going to create a fusion composition, go into the fusion tab, and merge all your parts together into a node tree. For my specific case I tend to merge all the face elements to the head and then just layer everything else how you'd expect. For these rigs I sometimes also changed the pupils to be "atop" the eye whites when merging the nodes to mask them accordingly.
This is also where we bring in the mouth parts by selecting them all in file explorer (or whatever mac users use) and dragging them into the composition. This will import them as an image sequence you can then manipulate using a timespeed node and custom tool!
After the initial setup I use a transform node for every part I'm moving, once again it's just a lot of rotating / sliding with some easing on the splines to make the motion look smooth.
For the head and hair I also tend to do a tiny amount of squash and stretch using the x&y size / aspect transform nodes. It adds a small amount of bounciness I really like in my animations. I got this trick from my buddy Nico aka wanwanwaf on twitter!
For my last little animation trick, I use the DVE node! It adds a tiny but of a 3D curve by basically making the image into a flat face on a pseudo-3D plane (you can also do actual 3d image stuff but that shit scares me so I haven't touched it) if you change the X and Y nodes! I use this for head turns mostly although you can use it for other parts like arms (or even the entire body!). I didn't want to do much animating for my mirrors animation so instead I used this DVE node trick. The best tip I'll give is that a rig is made of a lot of moving parts, so keeping each movement subtle looks better than having all of them move a huge amount. Less is more!

5.3 Adding the extra effects
The only animated addons I had for this animation were the little text popups here and there, otherwise the rest was fusion effects!
The main one I use in almost all my animations is the Paper Edge effect. It takes a bit of finessing but I tend to put it at 0.007 border width and then bring down the edge intensity and contrast to create a thick smooth outline. I feel it really helps the characters pop from the background in a simple way that moves as they move!
In some animations I'll also add an overlay with another image sequence to give the animation texture. You can see this done in my Scott's Street animation or in the background of my Gnaw and You're a big girl now animations!
The last thing I've been doing more recently is using the glow effect in fusion, it gives about the same effect halation would give (but free lol) and makes the rigs look a bit softer which I like a lot
5.4 Using adjustment clips
Finally we can address the last piece of the puzzle... the adjustment clips! These basically treat all layers underneath as one camera layer and allow you to transform them all at once! It's great for zoom ins or quick cuts!
Here's a side by side with and without adjustment clips for comparison!
Closing Thoughts
And that's how almost all my current animations are done! Full hand animated AMVs and such obviously deviate from some of these elements but the basics still apply to all of them!
Thank you for taking the time to read this txt file and as always... colon three (:3) !